Introduction Link to heading
I’ve been fascinated by 3D printing for years, but I always hesitated—would I actually use it enough to justify the cost? It’s easy to get swept up in the hype of new hobbies, only to let gadgets gather dust.
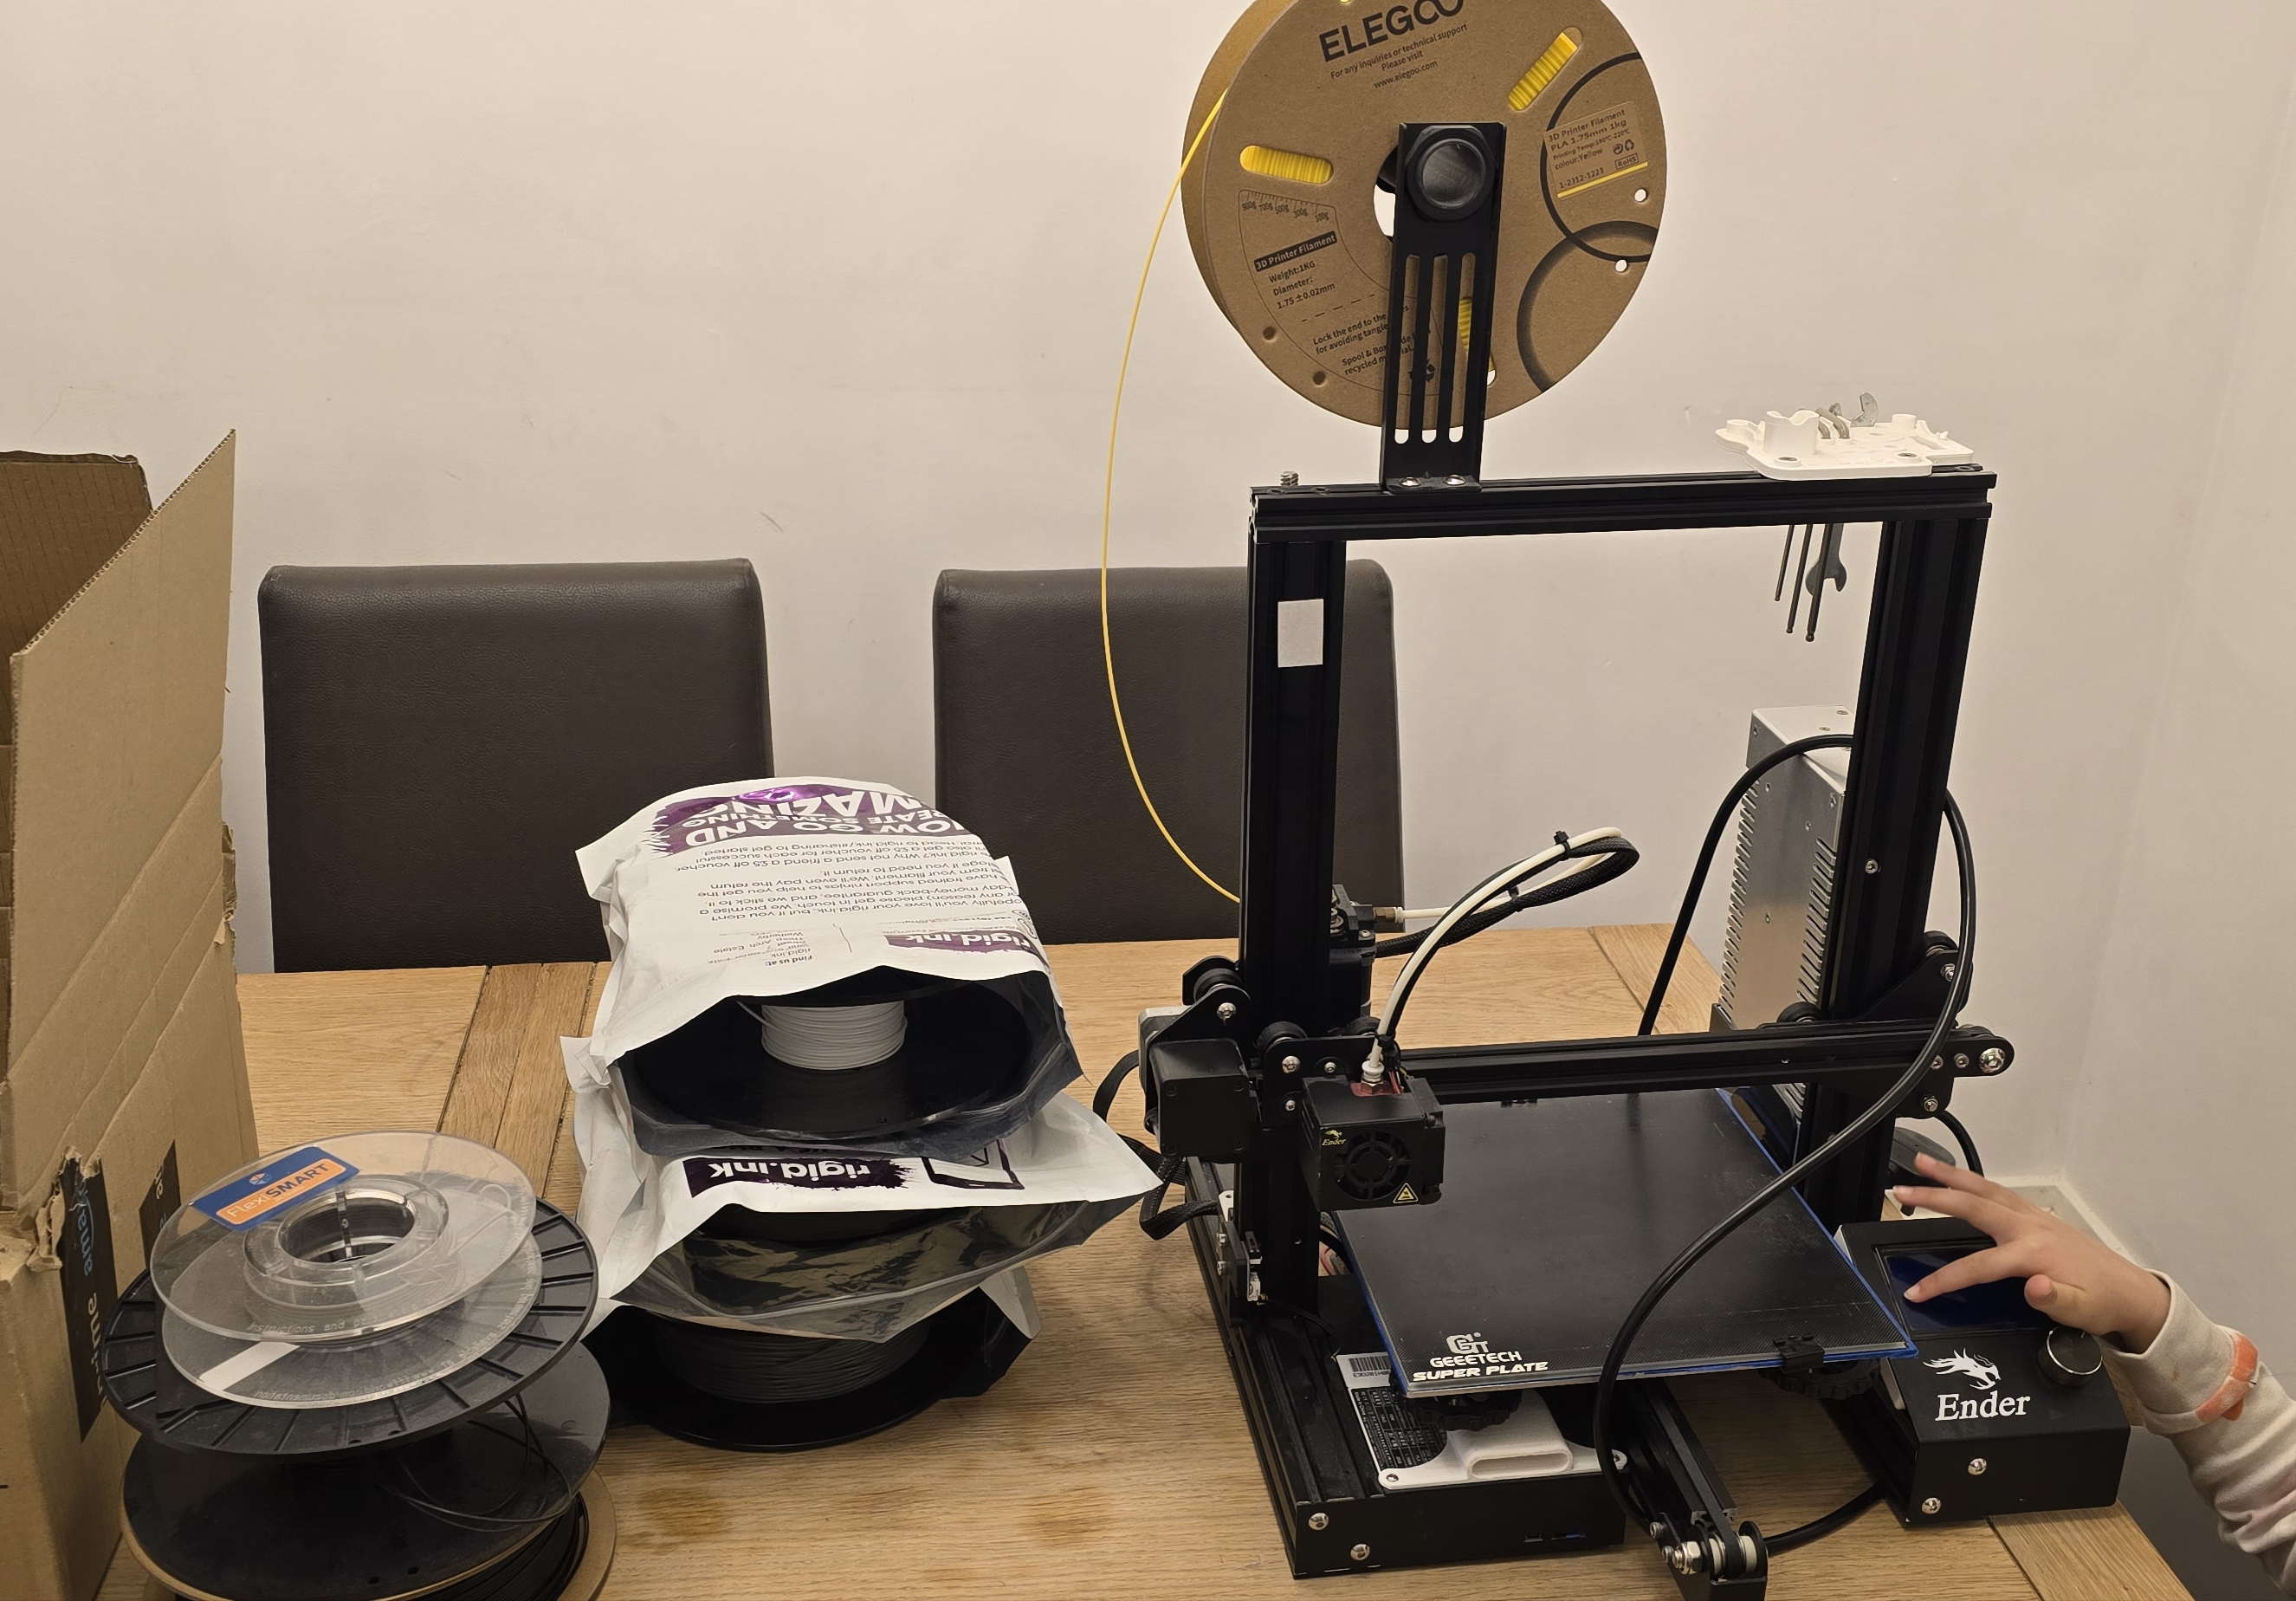
Recently, while browsing Facebook Marketplace, I stumbled across a deal that seemed too good to pass up — an original stock Ender 3 with a few spools of PLA and TPU for just £50. I decided to jump in, figuring that at this price, it would be a low-risk way to test the waters. And so, my 3D printing journey began.
In this post, I’ll share my early experiences with the Ender 3, from unboxing to first prints (and a few mishaps along the way). Whether you’re a fellow beginner or just curious about 3D printing, I hope my story helps you take the next step—or at least enjoy the ride!
Flashing Klipper and Upgrading the Stock Board Link to heading
Like many hobbyists, I’d heard whispers of Klipper — a firmware that promises smoother prints and faster speeds by offloading processing to an external, more powerful computer, eg a Raspberry Pi. As someone who’d happily install custom firmware on a toaster (if given the chance), the idea was irresistible. So, naturally, I dove straight into flashing it… before even verifying if the printer worked.
Spoiler: This was not my wisest move. A test print first would’ve been smart. But where’s the fun in caution?
The Klipper Installation Process Link to heading
- Flashing the Stock Board:
- I used an Arduino Uno as a programmer for the Ender 3’s 8-bit board.
- The process was straightforward (plenty of guides exist, so I’ll spare the details).
- Setting Up Mainsail:
- Loaded MainsailOS onto a spare Raspberry Pi 3 B+.
- Started with Klipper’s default Ender 3 config, which worked well out of the box.
First Print: Cali Cat (Because Why Not?) Link to heading
My first print on the newly Klipperized Ender 3, I printed a Cali Cat — To be honest, it wasn’t for calibration as I didn’t really know what I was looking for. It was purely because my four year old daughter was very interested in the printer, and I figured she can put the Cali Cat into her doll house!
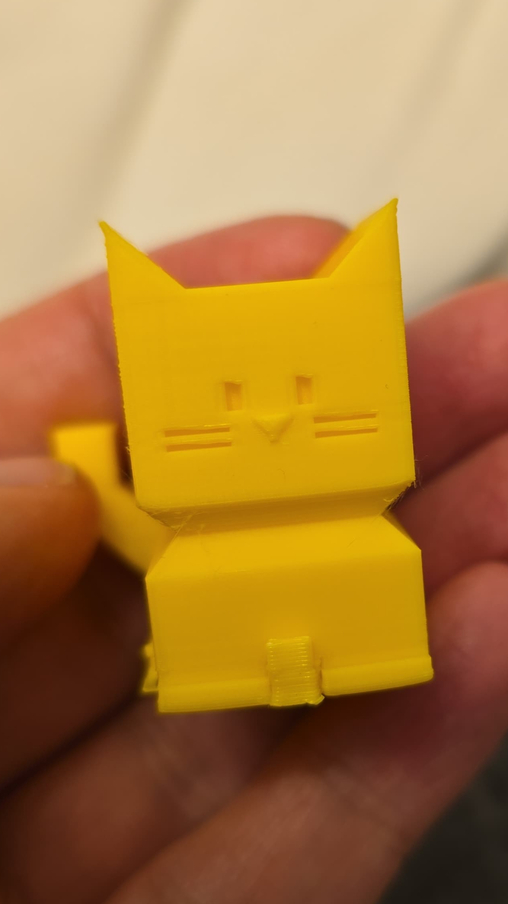
I was lucky, the hardware was working perfectly - I was quite nervous as I hadn’t done a test print prior to flashing it with Klipper. I was quite happy with the Cali Cat print quality.
Upgrading the Control Board and Adding a Bed Leveling Probe Link to heading
The stock Ender 3 control board worked fine, but the noisy stepper drivers were driving me slightly insane — especially when printing overnight. (Who enjoys a symphony of whirring motors outside their bedroom at 2 AM?)
Why Upgrade the Control Board? Link to heading
- Noise Reduction: The original 8-bit board’s stepper drivers were loud enough to hear rooms away.
- Expandability: A modern board opens doors for upgrades — like adding an auto bed leveling probe.
Choosing the BIGTREETECH SKR Mini E3 V3.0 Link to heading
After researching, I settled on the BIGTREETECH SKR Mini E3 V3.0 (Amazon/AliExpress) because:
- Drop-in replacement — uses the original screw holes and connectors.
- Silent TMC2209 drivers — goodbye, screechy motors!
- Klipper-friendly — flashing was easier than flashing the stock board.
The result? Near-silent operation. Now, the only noise is the fans - a massive quality-of-life improvement.
Upgrading the Bed Springs (Because Manual Leveling is Pain) Link to heading
The stock bed springs are known to be unreliable, forcing frequent re-leveling with the infamously finicky paper method. I swapped them for stiffer yellow springs and aluminum wheels, which helped—but I still wanted a true fix: auto bed leveling.
Adding the BIQU Microprobe v2 Link to heading
I opted for the BIQU Microprobe v2 over a BLTouch for two reasons:
- Higher accuracy (theoretically - I’m not too concerned about this, as I don’t think anything I print will need that level of accuracy).
- Lighter weight — As I discuss later, I plan on looking into part cooling upgrades, which add weight to the tool head, so keeping the probe as light as possible is ideal.
- Works great with the SKR Mini E3 v3!
The installation and configuration process was supposed to be pretty straight forward. This video describes the process pretty well: BIQU Microprobe and SKR Mini E3 V3 upgrade on the Ender 3! But unfortunately, for me, on the first test print, the probe slammed into the print bed, bending the probe pin and scratching the surface of the print bed as well.
I didn’t notice that the retractable pin was half-unscrewed during shipping, so it didn’t retract fully after it had finished the adaptive bed mesh probing.
I managed to straighten the pin enough to get it working but unfortunately, it still occasionally sticks and I haven’t been able to straighten the pin completely. A replacement is likely in my future.
Always inspect new hardware before trusting it with your print bed’s safety!
Dialing in Input Shaping with the Mellow ADXL345 Link to heading
One of Klipper’s most game-changing features is input shaping - a software technique that reduces ringing (those ghostly echoes on sharp corners) without sacrificing print speed. After reading how Voron and Bambu printers use accelerometers for precision tuning, I decided to add a Mellow ADXL345 to my setup.
Why an Accelerometer? Link to heading
- Science over guesswork: Instead of manually tweaking values, the ADXL345 measures your printer’s actual resonance frequencies
- Printer-specific tuning: Every machine vibrates differently based on frame rigidity, mass distribution, etc.
- Future-proofing: Essential for pushing speeds beyond 100mm/s reliably
The Mellow 3D Github page provides the Klipper configuration required: https://mellow-3d.github.io/fly_adxl345_usb_klipper_config.html.
I would recommend this video which explains how input shaping works, and how to configure it in Klipper: You’re NOT getting the MOST out of Input Shaper
Part Cooling Upgrade: From Stock to Satsana Link to heading
While browsing Ender 3 upgrade videos, I kept seeing these sleek, heavily modded toolheads. Other than looking cool, most of these modded toolheads were designed to improve part cooling. The HeroMe Gen7 system caught my eye, but it demanded:
- Multiple complex printed parts (some needing heat-resistant filaments)
- New fans
- Heat-set threaded inserts
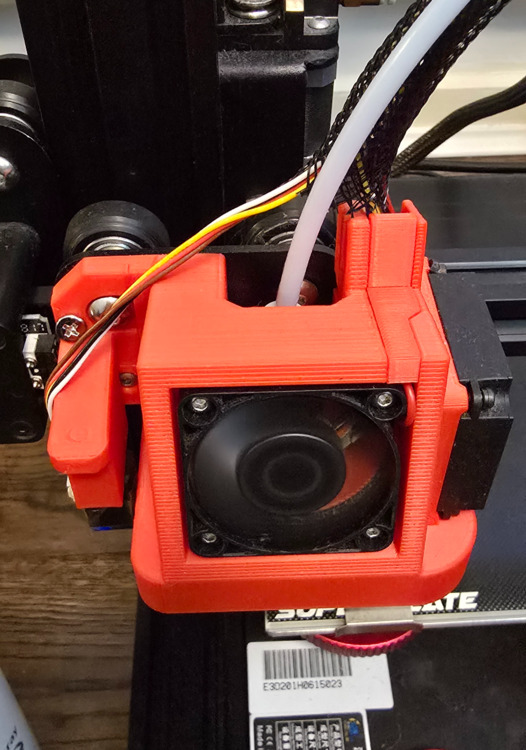
As a beginner, that felt like jumping into the deep end a little bit too quickly. So I opted for a simpler but effective solution: the Satsana shroud.
Why Satsana? Link to heading
- It uses the stock fans, so no extra costs
- Very easy to print
- There is a remix for it that works with my BIQU Microprobe v2
Unfortunately, I forgot to print a Benchy for a before/after comparison of the actual print quality difference, but there are a lot of examples on the Satsana Thingiverse page that show the improvements people have seen. My prints have definetly improved, but I don’t have a side by side comparison of before and after.
My Second Ender 3: The Plot Twist Link to heading
A funny thing happened just after I got my Ender 3. My younger brother, who had been eyeing 3D printers too, also found an original Ender 3 on Gumtree, he managed to get it for £50 as well. His printer did not come with any filament, but it did come with a bunch of upgrades, including:
- BTT SKR Mini E3 v2
- Dual Z-axis motors
- BLTouch probe
- MicroSwiss direct drive extruder and all-metal hotend
- Upgraded bed springs
But there was a catch: despite the premium upgrades, he battled constant adhesion issues, and many other issues. Frustrated, he upgraded to a Bambu Labs A1 for “plug-and-play” simplicity—and handed me his troubled Ender 3.
Diagnosing the Nightmare Printer Link to heading
At first, I replicated his struggles — nothing would stick to the glass bed. I think the coating on the bed is damaged some how. Even after swapping out the bed, I ran into a lot of issues. A full toolhead teardown revealed why:
- Near-severed thermistor wire from an overtightened screw
- Burnt heating cartridge cables
- Heat block caked in burnt filament
The hotend was a disaster. Whether due to temperature misreporting or uneven heating, it was clearly unsafe due to the burnt and almost broken wires. My attempts to salvage the heat block only made things worse, so it was time for replacements.
The Hotend Resurrection Kit Link to heading
I ordered upgrades to fix and future-proof both printers:
- Trianglelabs 50W Heater Cartridge
- 25% more power than stock (40W → 50W) for faster heat-up.
- ATC Semitec 104GT-2 Thermistor
- Higher accuracy, faster response, and 300°C tolerance (vs. stock 260°C).
- Mellow Heat Block + Silicone Sock
- Fresh start with thermal consistency.
- Creality Hardened Steel Nozzle
- Supports more fillament types, especially those that are a bit abrasive.
I decided to buy two of each of these, so I can also upgrade my original printer as well.
As a bonus, I grabbed a Trianglelabs All-Metal Hotend) for my original Ender 3 — curious how it’ll compare to the MicroSwiss on the second Ender 3.
I’m still awaiting delivery of these parts, and will make a follow up post when they have arrived and I have installed them.
Why I Enjoy Tinkering with the Ender 3 Link to heading
While it’s very easy to get frustrated with the Ender 3, especially when newer printers “just work,” I’ve really enjoyed the process of learning and tinkering.
There’s something about working on a machine and improving it piece by piece, kind of like working with LEGO or Meccano as a kid. The Ender 3 is an incredibly versatile platform with endless upgrade options, and Klipper has given me a ton of customization and control.
Browsing the Ender 3 subreddit, I saw someone say something similar to:
“If you’re not printing upgrades, what are you printing?”
For me, that’s been completely true. My printer has spent a lot of time printing parts to upgrade itself!
Future Upgrade Plans Link to heading
Looking ahead, I’m planning several upgrades for both printers:
- Linear rails (X/Y axes) – for buttery-smooth motion
- HeroMe Gen7 – I plan on taking a look at the HeroMe Gen7 again when I have a bit more experience
- Magnetic print bed to make it easier to remove prints
- First printer overhaul to match the second:
- Direct drive extruder (for flexible filaments)
- Dual Z-axis motors (no more gantry sag)
I’m also intrigued by the Switchwire conversion, which turns the Ender 3 into a Voron Switchwire printer. It looks challenging but exciting.
Final Thoughts Link to heading
The Ender 3 can be incredibly frustrating — there’s no sugar-coating that. Compared to modern printers like any of the Bambu Labs printers, it lacks polish, ease of use, and reliability out of the box. Those newer machines are designed to “just work,” and they often do.
But the Ender 3 shines in a different way.
If you’re someone who enjoys tinkering, troubleshooting, and learning how things work — the Ender 3 is basically adult LEGO. Or like Meccano, if you’re into nuts and bolts. It’s a platform that encourages experimentation and rewards patience. The community around it is massive, the upgrade path is nearly endless, and the sense of accomplishment when you finally get things dialed in is hard to beat.
So if you’re thinking of picking one up in 2025 — especially second-hand — and you’ve got a DIY streak in you… I can’t recommend it enough.
Affiliate Links Link to heading
- BIGTREETECH SKR Mini E3 V3.0 (Amazon)
- BIGTREETECH SKR Mini E3 V3.0 (AliExpress)
- BIQU Microprobe v2 (AliExpress)
- Trianglelabs 50W Heater Cartridge (AliExpress)
- ATC Semitec 104GT-2 Thermistor (AliExpress)
- Mellow 3D Heat Block + Silicone Sock (AliExpress)
- Creality Hardened Steel Nozzle (AliExpress)
- Trianglelabs All-Metal Hotend (AliExpress)
- Mellow 3D ADXL345 Accelerometer (AliExpress)